I haven’t been happy with most of the scenics I’ve taken in the past. Of course, I doubt I’ll have be truly happy with my scenics unless I can show them in 3D in an iMax theater. Let’s face it, sweeping panoramas 620 pixels wide are never going to convey the same feelings you get when you look out a scene covering hundreds of miles. That doesn’t mean, however, that my shots can’t be better.
One of the latest trends in scenic photography is using HDR. In essence, you shoot 3 to 5 shots at different exposures and then use a special program to combine them to, hopefully, produce the shot you saw when you clicked your camera. Ideally you set up a tripod to take the shots so they line up perfectly, but I’m not quite that organized yet. Still, Photoshop and Photmatix do an awfully good job of lining up hand-held shots. Photomatix suggests one shot be 2 stops over and the other 2 stops under, but I didn’t own Photomatix until after I returned from the trip, so all my shots are one stop underexposed and one stop overexposed. Needless to say, then, I still have much room for improvement, but I am happier with the shots on this trip than I’ve been on previous trips.
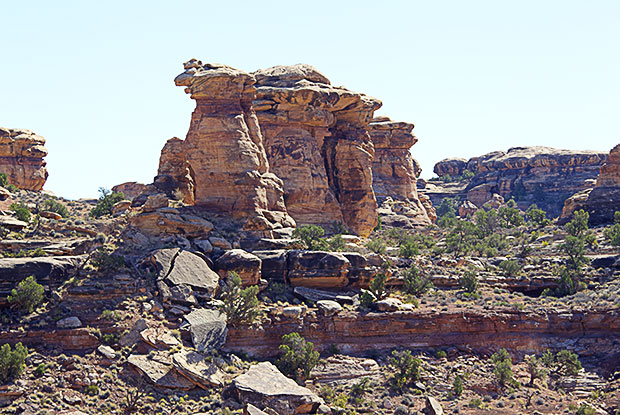
If I’d been using my old method, this
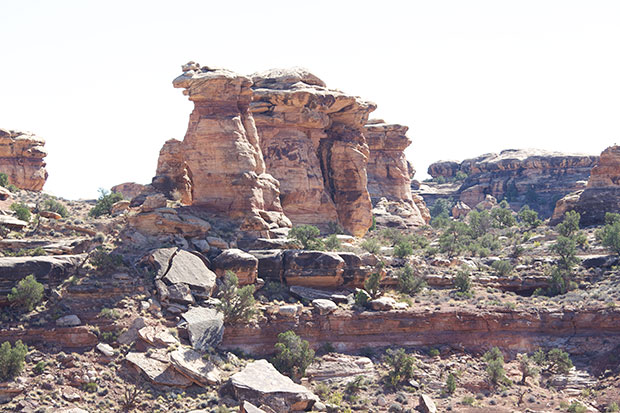
is the only shot I would have ended up with because the camera said this was the correct exposure. (Of course, since it’s a RAW shot I could adjust both the highlights and the shadows, though not nearly as much as I can using HDR.)
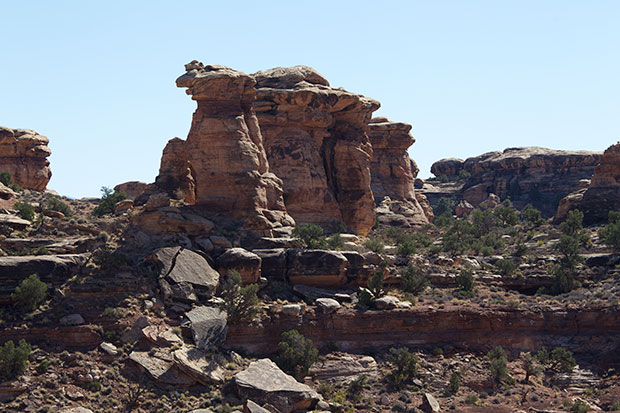
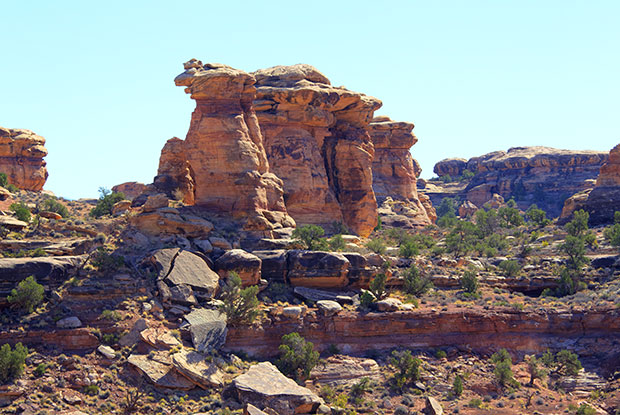
This shot is underexposed by one f-stop, though I actually prefer it to the previous shot.
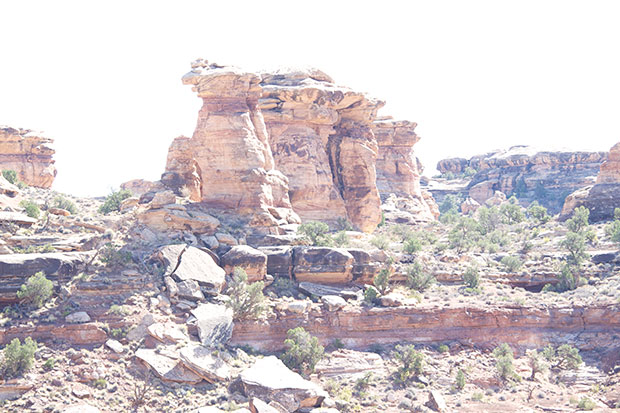
This last shot is on f-stop overexposed, and it’s the kind of shot that used to drive me crazy because there’s not much you can do to save it.
There are many HDR programs, and previously I’ve generally been happy with the one in Photoshop. However, another program I use recommended Photomatix, and since it wasn’t their program I gave it a try. So far, I’m happier with it than I was other programs I’ve used.
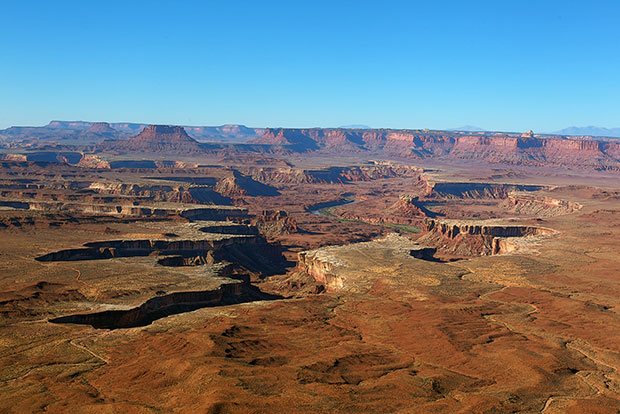
Photomatix produces a string of previews using different presets. The one I’ve used most consistently is like this one, called “Photographic.”
I prefer this shot to all the above shots, but if I was going to use it in my web site I would probably tweak it in Photoshop, especially since I really prefer the sky in the second shot above.
The greatest danger of using HDR is hyping the colors to the point where they lose any sense of “reality,” something that seems all too common for my taste. For instance, I think the “Deep” shots in Photomatix
are consistently overdone, though I can image that under the just the right light conditions, like sunrise or sunset, these colors might reflect what the scene actually looked like.
Ideally, I would like to edit all my photos as close to the time I took them as I could. That way I would have a much better sense of what the scene actually looked like and I could reproduce it more accurately.
Like this:
Like Loading...

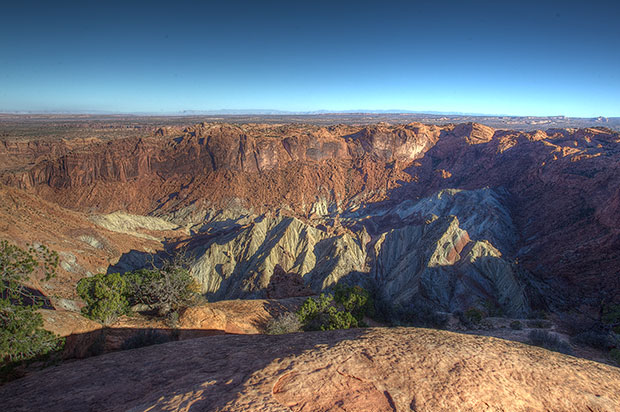
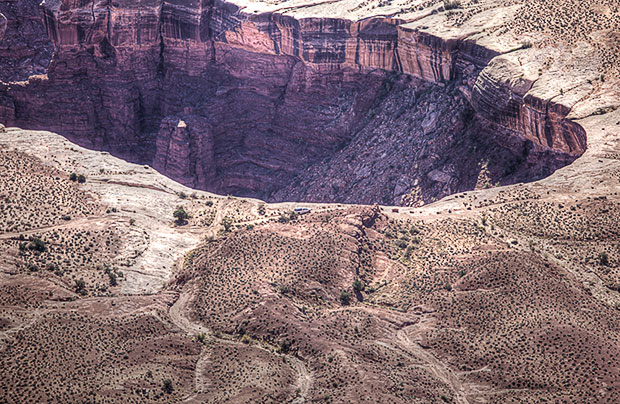
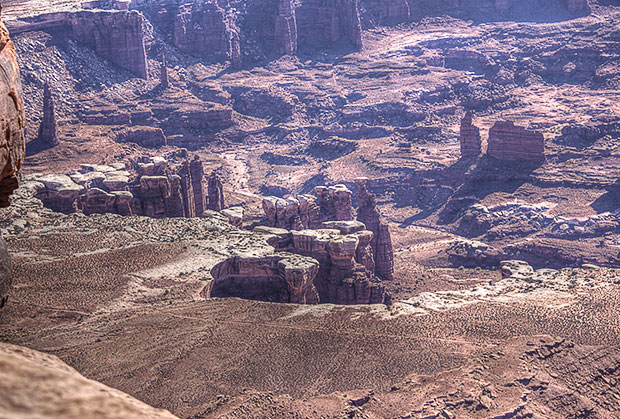
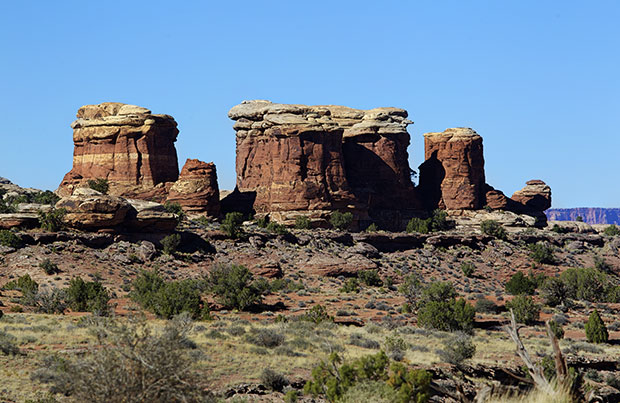
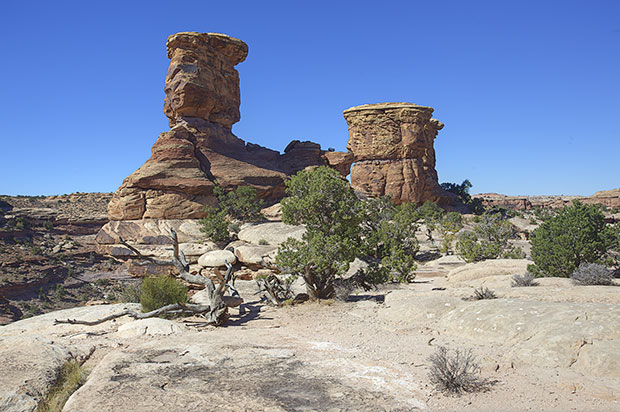
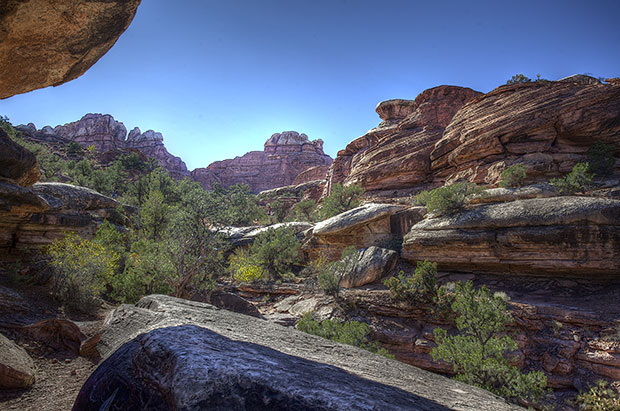
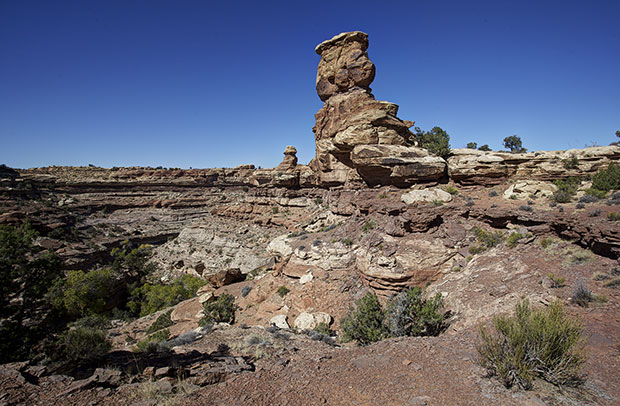 or this. These natural “walls” must have seemed like The Great Wall of China to Indians walking these lands.
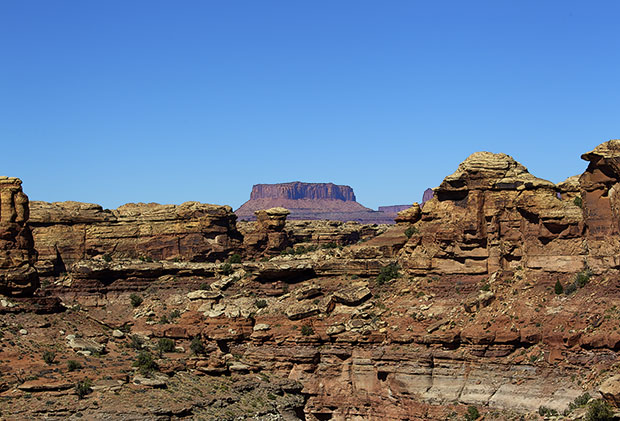 I walked up the trailhead of one of the main trails in the park and found it daunting, and I was only carrying 30 or 40 pounds of camera equipment and water.